Github 블로그 with Hugo #1
![]()
애플 실리콘(M1) + Homebrew + vscode를 사용하여 진행했습니다.
paper 테마에 tailwind로 커스터마이징 했습니다.
1. Hugo를 선택한 이유
Hugo 1는 강력하고 빠른 정적 사이트 생성기로, 블로그 제작에 탁월한 선택입니다. Go 언어로 작성되어 빠른 빌드 속도를 자랑하며, 다양한 테마와 플러그인을 지원합니다.
Hugo vs Jekyll 비교
| 특징 | Hugo | Jekyll |
|---|---|---|
| 프로그래밍 언어 | Go | Ruby |
| 빌드 속도 | 매우 빠름 | 상대적으로 느림 |
| 한글 레퍼런스 | 적음 | 많음 |
| 커뮤니티 | 성장 중 | 큰 커뮤니티 |
| 테마 | 다양함 | 매우 다양함 |
Hugo는 Jekyll에 비해 빌드 속도가 훨씬 빠르며, 문서화(Documentation)가 잘 되어있습니다.
2. Prerequisite
- Git 설치
brew install git    # homebrew로 설치
git --version       # 설치 확인
- Hugo 설치
brew install hugo   # 설치
hugo version        # 설치 확인
- 원하는 Hugo 테마 선택(https://themes.gohugo.io/) 2
저는 ‘paper’ 테마 3를 선택했습니다.(심플한 디자인, tailwind 기반)
Windows설치법: https://gohugo.io/installation/windows/
3. Github 레포지토리 생성
- Github에 로그인
- 새 레포지토리 생성 (이름:
username.github.io)username은 본인의 Github ID 입니다. - 공개 설정 선택(public)
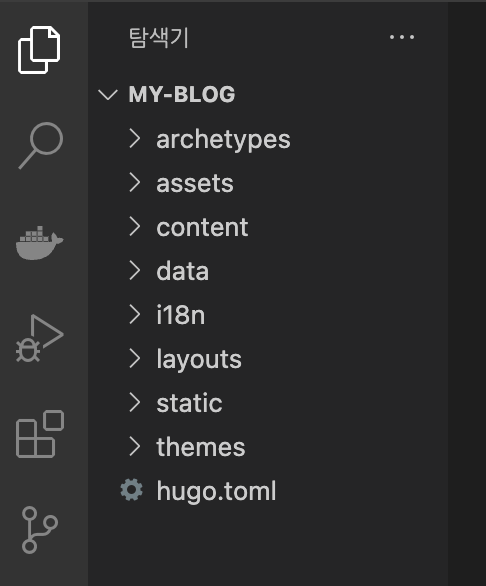
4. Hugo 프로젝트 생성
터미널에서 다음 명령어 실행:
hugo new site my-blog
cd my-blog
(option) `README.md`를 생성하고 소개글을 작성합니다.
아무말이나 작성해도 좋습니다.
(option) `.gitignore`를 생성하고 내용을 작성합니다.
hugo community를 참고했습니다.
# .gitignore

# Generated files by hugo
/resources/_gen/
/assets/jsconfig.json
hugo_stats.json

# Executable may be added to repository
hugo.exe
hugo.darwin
hugo.linux

# Temporary lock file while building
/.hugo_build.lock

.DS_Store
node_modules
dist
tmp
5. Github 레포지토리와 연결
git init
git remote add origin https://github.com/username/username.github.io.git

git add .
git commit -m 'feat: create hugo new site'
git push -u origin main
6. 테마 불러오기 (submodule)
git submodule add https://github.com/nanxiaobei/hugo-paper themes/paper
paper테마를 submodule로 불러와서 themes/paper/로 저장합니다.
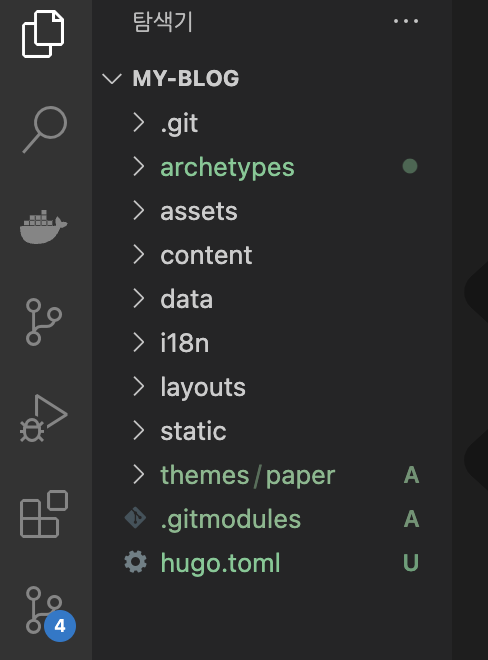
7. Configuration 설정
hugo.toml 파일을 열고 기본 설정 수정:
baseURL = "https://username.github.io/"
languageCode = "ko-KR"
title = "My Hugo Blog"
theme = "paper"  # theme-name
8. Post 작성해보기
hugo new posts/my-first-post.md
content/ 폴더가 생성되었습니다.
모든 게시글은 ‘content/’ 폴더에서 작성합니다.
생성된 마크다운 파일을 편집하여 내용 작성해봅니다.
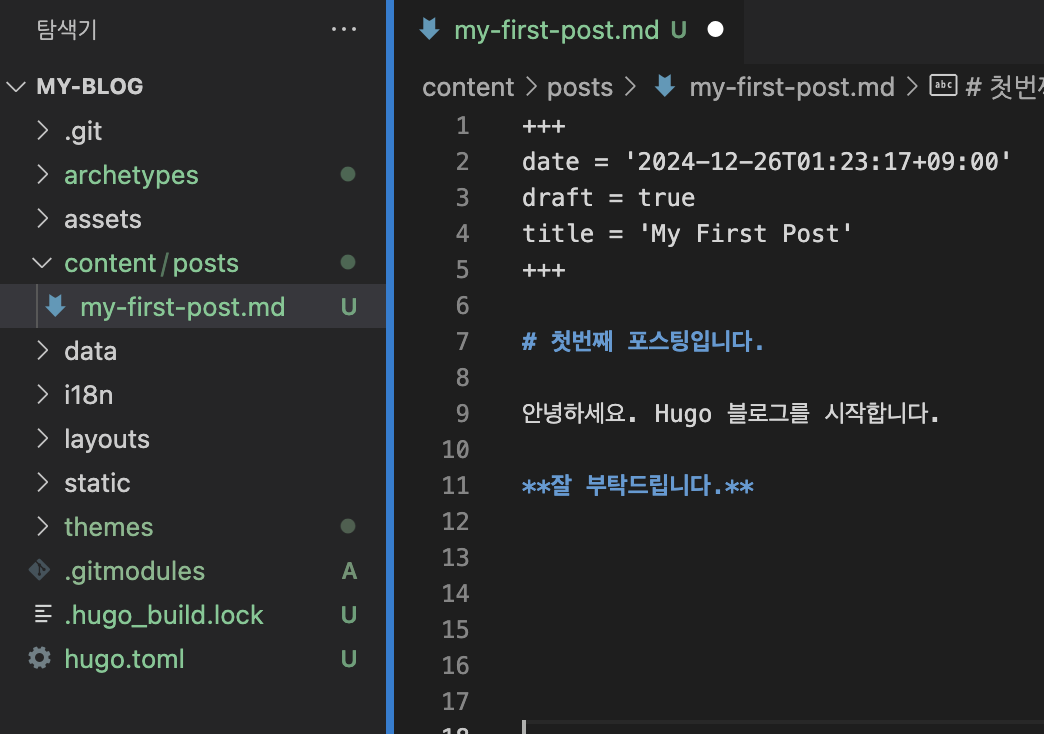
제일 윗부분을 ‘front-matter’ 4라고 하며, 게시글의 메타데이터를 설정합니다.
date: 글 작성 날짜draft: 초안 작성 중일 때true, 배포를 원할때falsetitle: 글 제목
9. Github Actions 워크플로우 설정
- Hosting-on-github 5의 Step5, Step6을 참고하여 따라합니다.
- Step5 - hugo.yaml 생성
mkdir -p .github/workflows && touch .github/workflows/hugo.yaml
- Step6 - 내용 추가 & 저장
HUGO_VERSION를 최신 버전(0.140.0)으로 변경했습니다.
10. 빌드와 테스트
- Hugo로 사이트 빌드:
hugo
지금까지 수정한 모든 내용을 반영하여 public/ 폴더를 생성합니다.public/ : 블로그를 생성 할 때 참고하는 최종 결과물입니다.
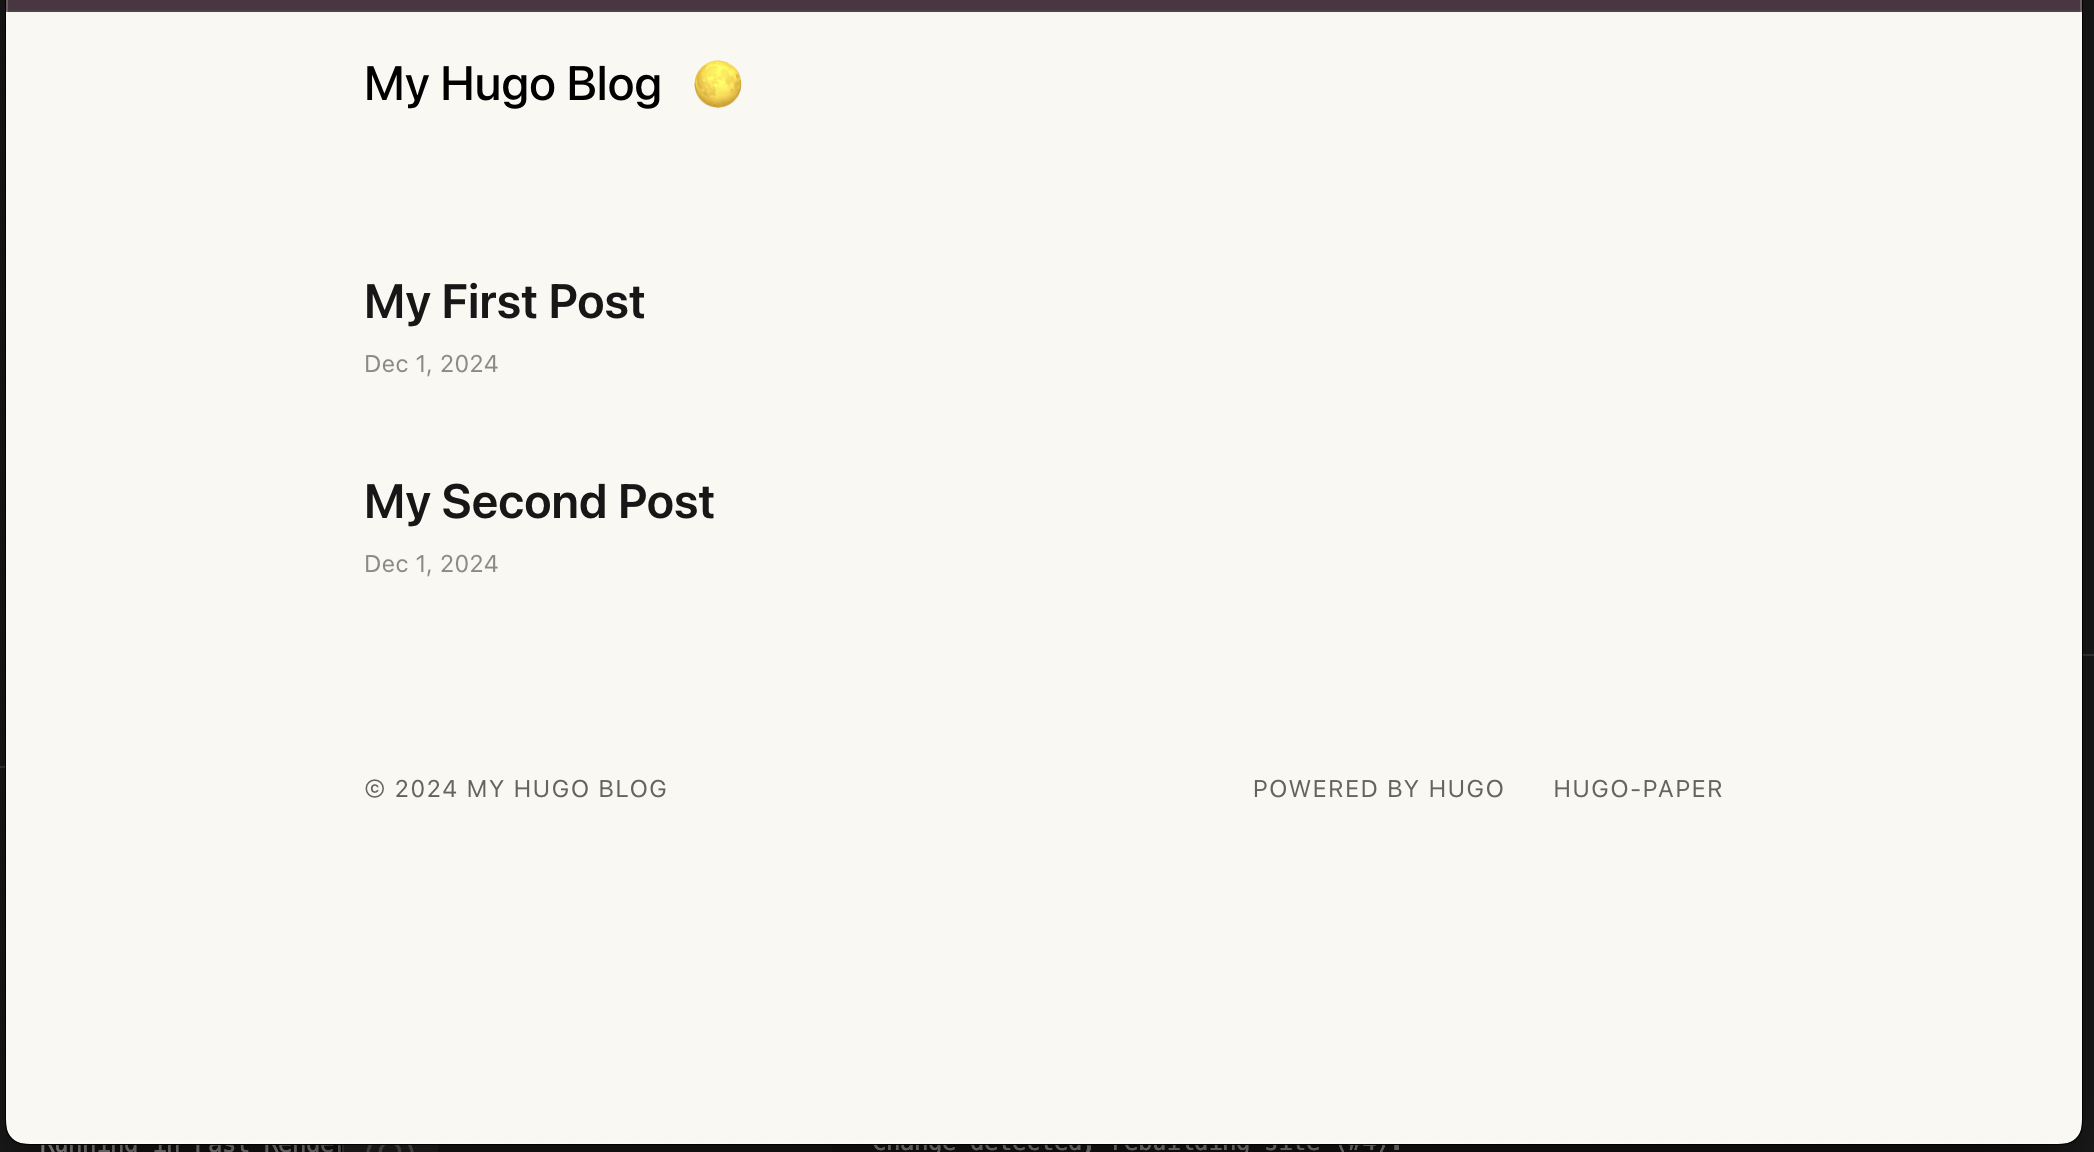
- Local환경에서 서버 실행:
hugo server -D
-D커맨드: draft를 포함하여 서버를 실행합니다.- http://localhost:1313/ 에서 블로그를 확인합니다.
Ctrl+C로 서버를 종료합니다.
서버 실행 화면
11. 배포
- 배포를 원하는 게시글은
draft = false로 설정 - 생성된
public폴더의 내용을 Github에 푸시:
hugo
git add .
git commit -m "feat: my first post"
git push
이제 https://username.github.io에서 블로그를 확인할 수 있습니다.
이해가 되지 않는 부분은 HUGO Documentation 6를 확인해주세요.